Repairing windows with no sill pan flashing
Pulling out the whole window, jamb and all is a huge chore. Taking out the window would require cutting off the drywall and wood trim inside the house and patching everything back.
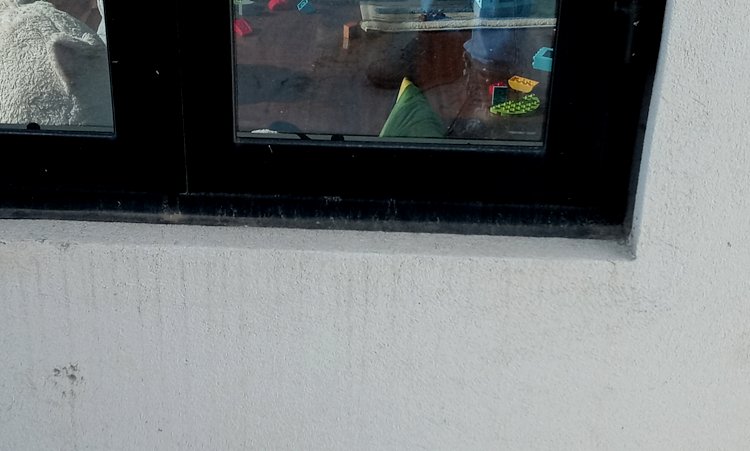
4 year old one coat stucco house in Arligton, Virginia is eaten up with rot. There is no sill and window opening is level, and not pitched away from the building. This method is frequently done these days, at least here in the Washington, DC area and needs to stop.
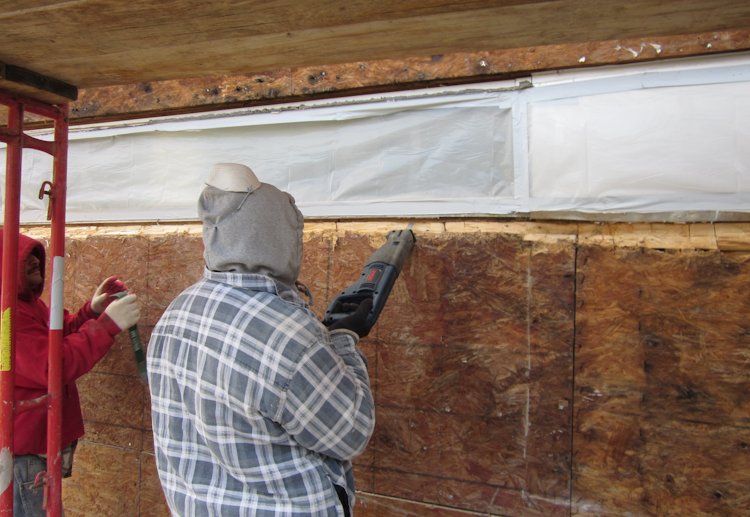
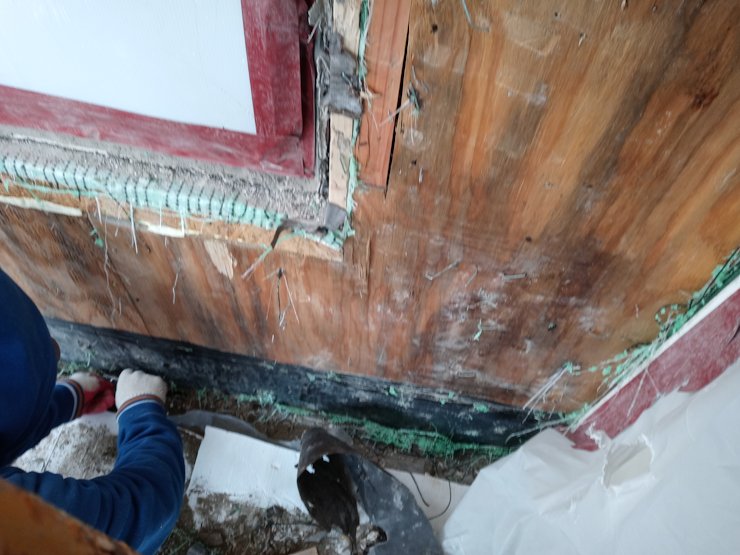
After tearing off the one coat stucco, We cut off the wood framing under the window at an angle. We used a sawzall, an angle grinder with a wood blade, and a chisel. This doesn't have to be beautiful. The idea is to create enough space for the new flashing to go at least halfway under the window jamb.
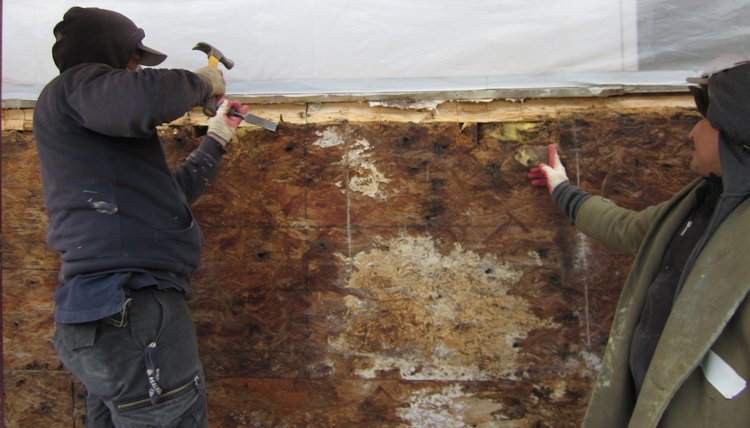
A chisel works fine to knock off crumbly OSB. There is no excuse for a four year old house to be this rotten.
The OSB was rotted but it was still good enough after it dried out.
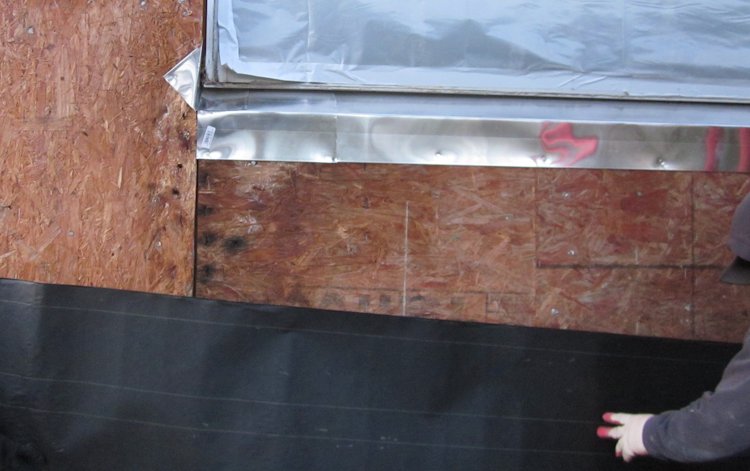
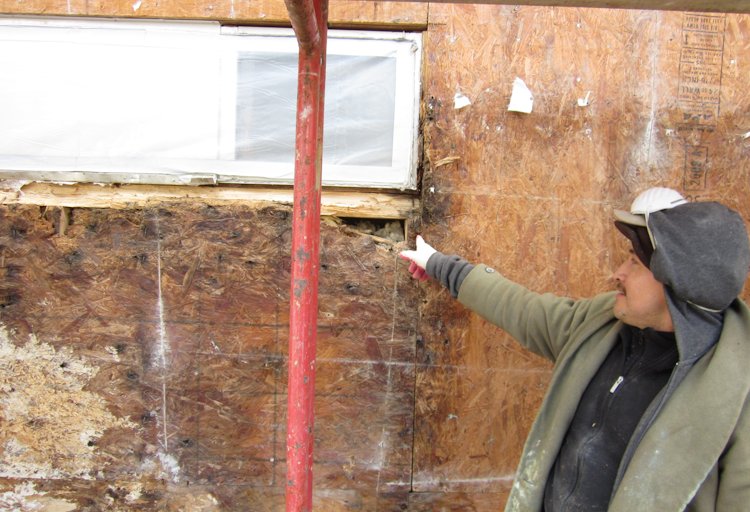
We took a piece of aluminum flashing and tucked it up under the window as far as it would go. Note the end dam made by folding up the ends.
With tarpaper and tape we are ready to lath.

As an afterthought, I chopped off the stucco basecoat and put in another end dam, pushing it as far under the window as I could.
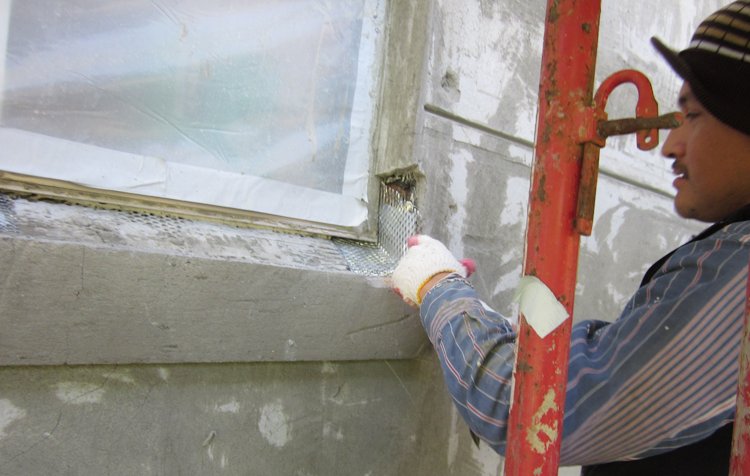
We patched the stucco back with metal lath and mortar. Note the stucco window sills. These are formed and filled with cement mortar and no flimsy EIFS foam. Check out the homemade control joints. We made these with a concrete groover.
We are putting on synthetic finish to match the rest of the house.
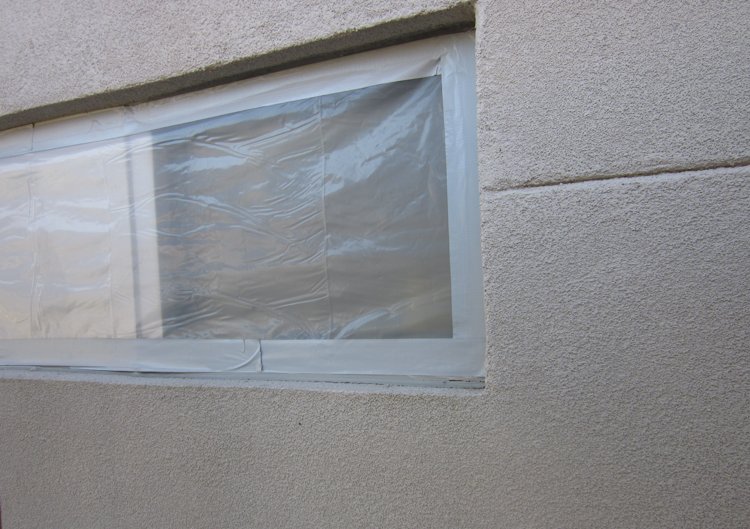
Here is another one coat stucco addition in Alexandria, Virginia that had a flat level area under the window. I see this a lot in the Washington, DC area and it needs to stop. Any water that runs down the window or wall above collects at the bottom and soaks in. This 9 month old one coat stucco installation is already failing do to wet framing.
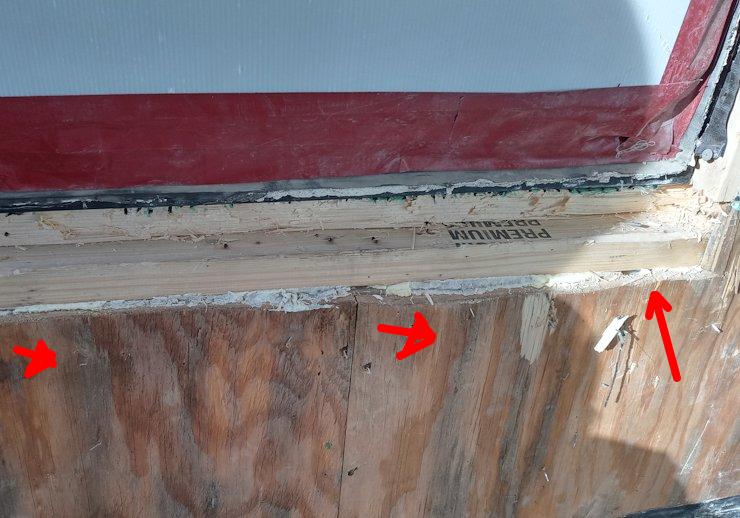
Note the water streaking on the plywood sheathing. There is no excuse for this after 9 months. We work on houses well over 100 years old where the framing and sheathing is like new. Here, we are also correcting the bottom. Water was running into the house. We pulled off the flagstone away from the wall and discovered the bottom was exposed. That means that the water that penetrated the mortar on the flagstone ran down and ran freely into the house. We corrected that, too. There was standing water against the bottom plate.
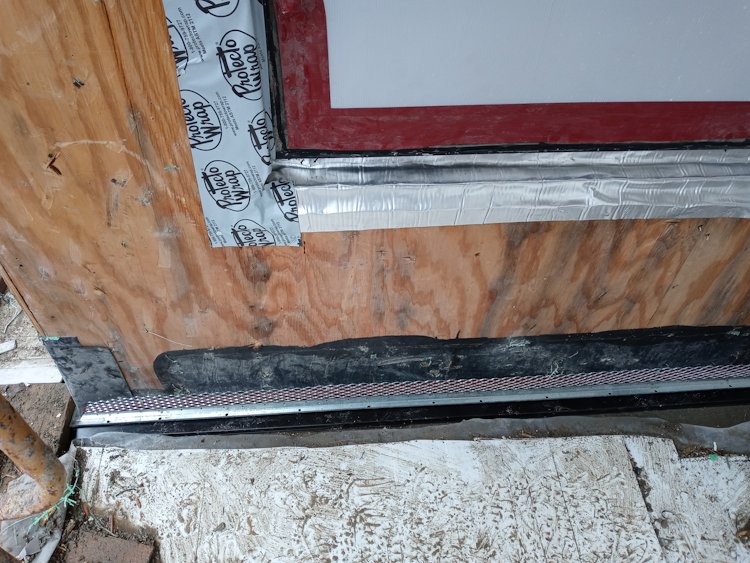
We cut off the top 2x4 under the window and a cut a gap under the window leaving enough room for a stud cross ways. We made the slope by covering the bottom with flashing and making the angle with mortar.
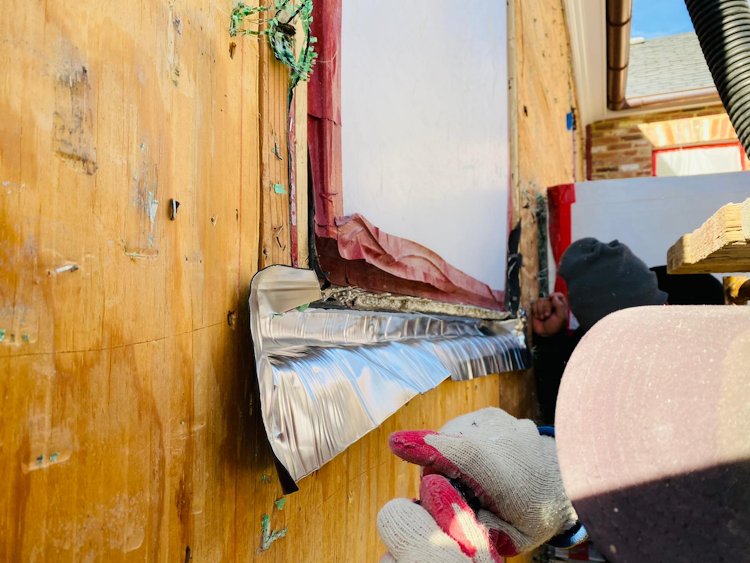
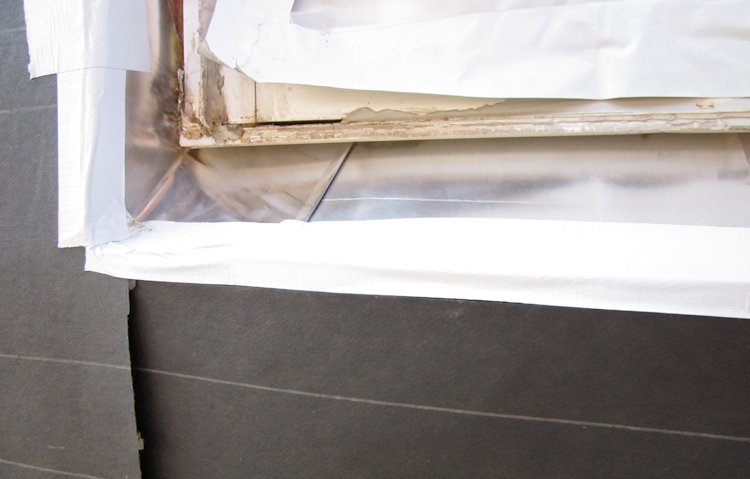
A peel and stick aluminum membrane flashing is put on. Note the flashing is folded up the sides and stuffed in under the window jamb.
Protecto tape is put on the sides, folding the edge of the protecto tape against the window jamb.
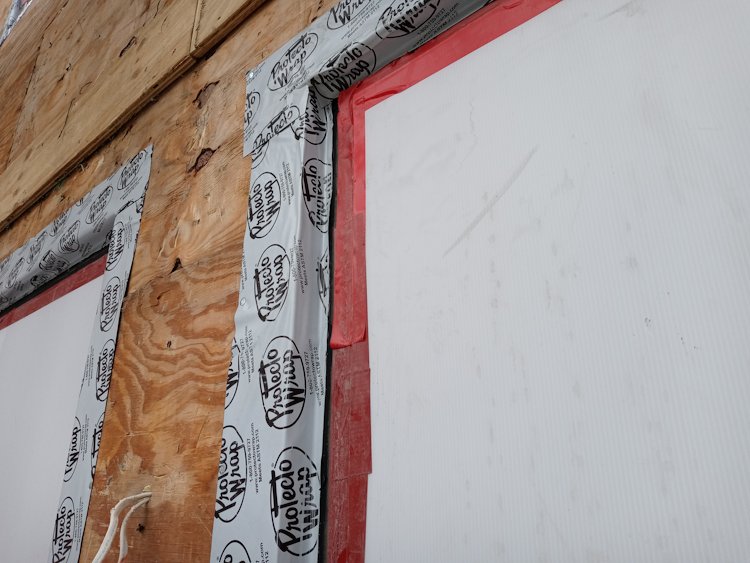
Protecto tape is put on the top, overlapping the protecto tape on the sides. Sorry, the correct name is Protecto Wrap. Not promoting protecto wrap, but there are other brands. You can find some looking for rubber window flashing.
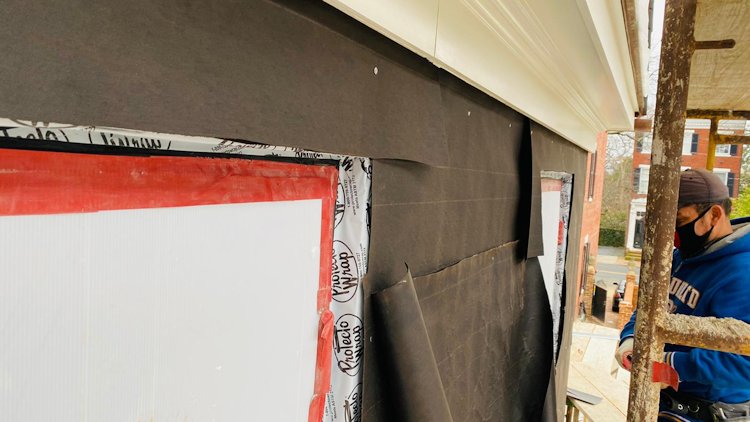
Tarpaper is put on from the bottom up, overlapping the rubber membrane flashing.
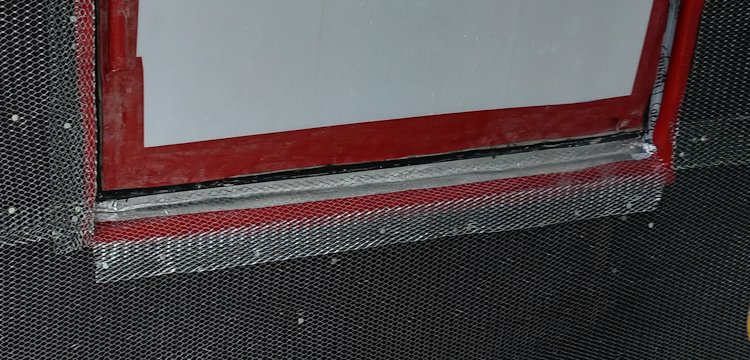
Metal lath is put on the wall and over the aluminum without nailing the aluminum. Tarpaper is taped to the protecto wrap, even though it really isn't necessary.
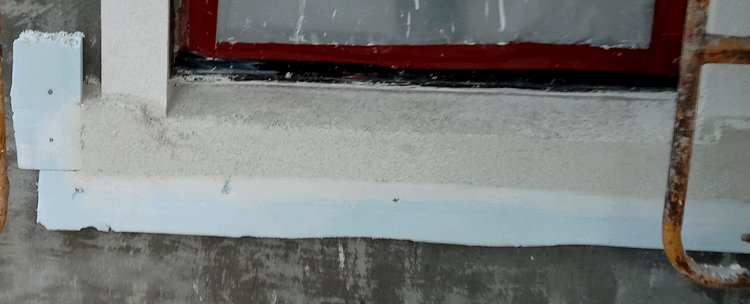
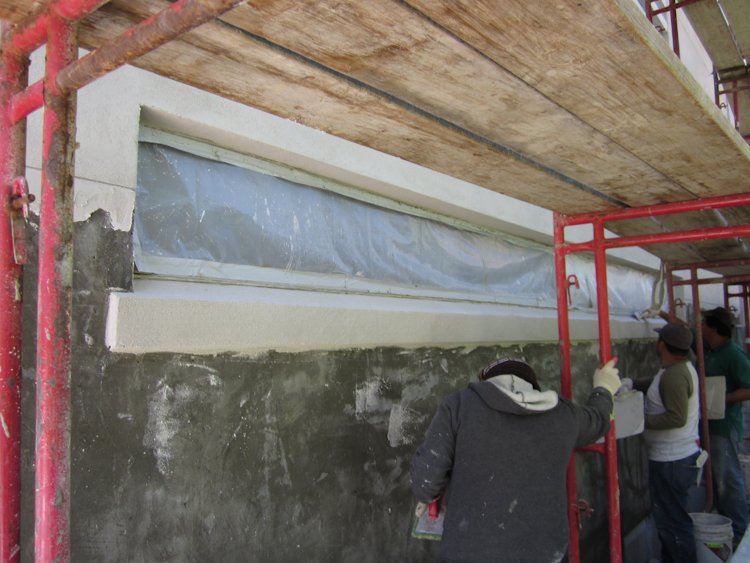
After the brown coat, sills are formed and filled. Forms are made from styrofoam. Don't worry, the foam is temporary. White portland and white sand is used because white portland sets fast, allowing the sills to be done the same day. The sills are then taped off before finishing the wall. The truth is, stucco isn't the most reliable material for window sills, but it beats nothing.
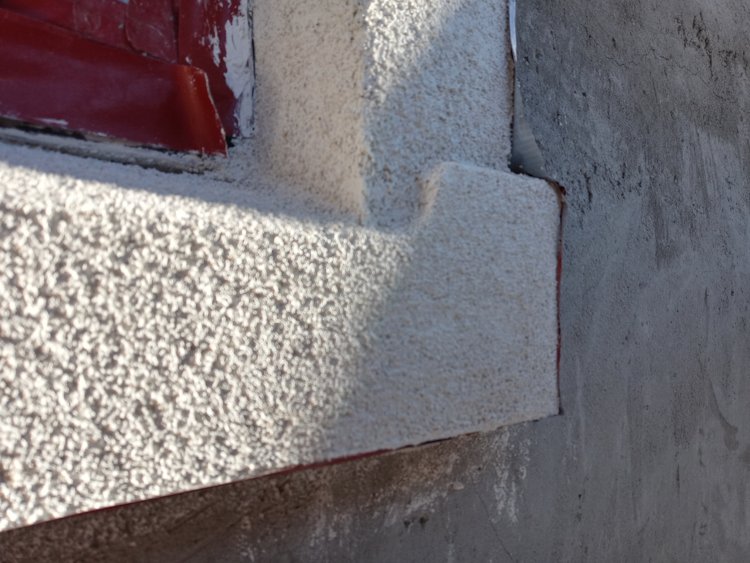
We did stucco surrounds on the sides also. Note my curve on the sill.
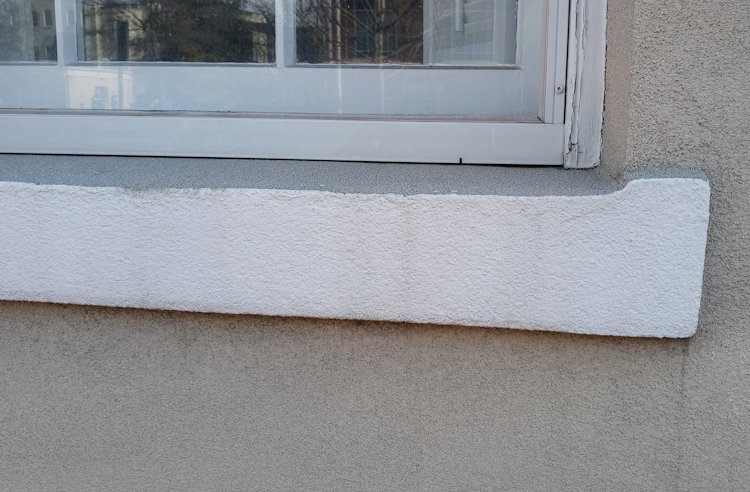
Stucco sills here in Old Town Alexandria were done like this in the 1800's, so I wanted to copy the old style. The curve on the sides forms a spout, deflecting water toward the center of the sill.